Blackboard now includes a full-featured content management system that is available to all faculty.
So what’s a content management system?
A content management system is a tool that lets faculty and students manage and share files, documents, and digital assets in a secure, easy-to-use environment. The Blackboard content management system is fully integrated into all your Blackboard course and organization sites.
How does Blackboard content management work?
The Blackboard content management system makes it easier and more efficient to store and back up your files, and to use them in your Blackboard courses and organizations. Without content management, you had to upload documents to each course or organization in which you wanted to use them.
With content management, you can store your files in the content system once, and link to them from any Blackboard course or organization – or from any Web site or email. As a content management user, you have your own personal My Content folder. Depending on how you set permissions, you can grant access to your files to other iSchool Blackboard users – or to others outside the iSchool community.
Why would I use a content management system?
Content management lets you access your files from any networked computer – anytime, anywhere. With the Blackboard content management system, you can:
- Store all your course and personal documents securely.
- Avoid emailing and receiving large files.
- Make all your documents and files searchable.
- Back up all your work against technology failure.
- Share files with individuals and groups.
- Share files with people outside iSchool.
- Collect and turn in assignments through links in your Blackboard course.
- Update your files easily and track versions of them.
- Easily archive all your work and documents.
- Store files only once, and use them in many Blackboard courses and organizations.
What do I need to use the Blackboard content management system?
Just like Blackboard, the content management system works on either Windows or Mac computers.
Where do I find the Blackboard content management system?
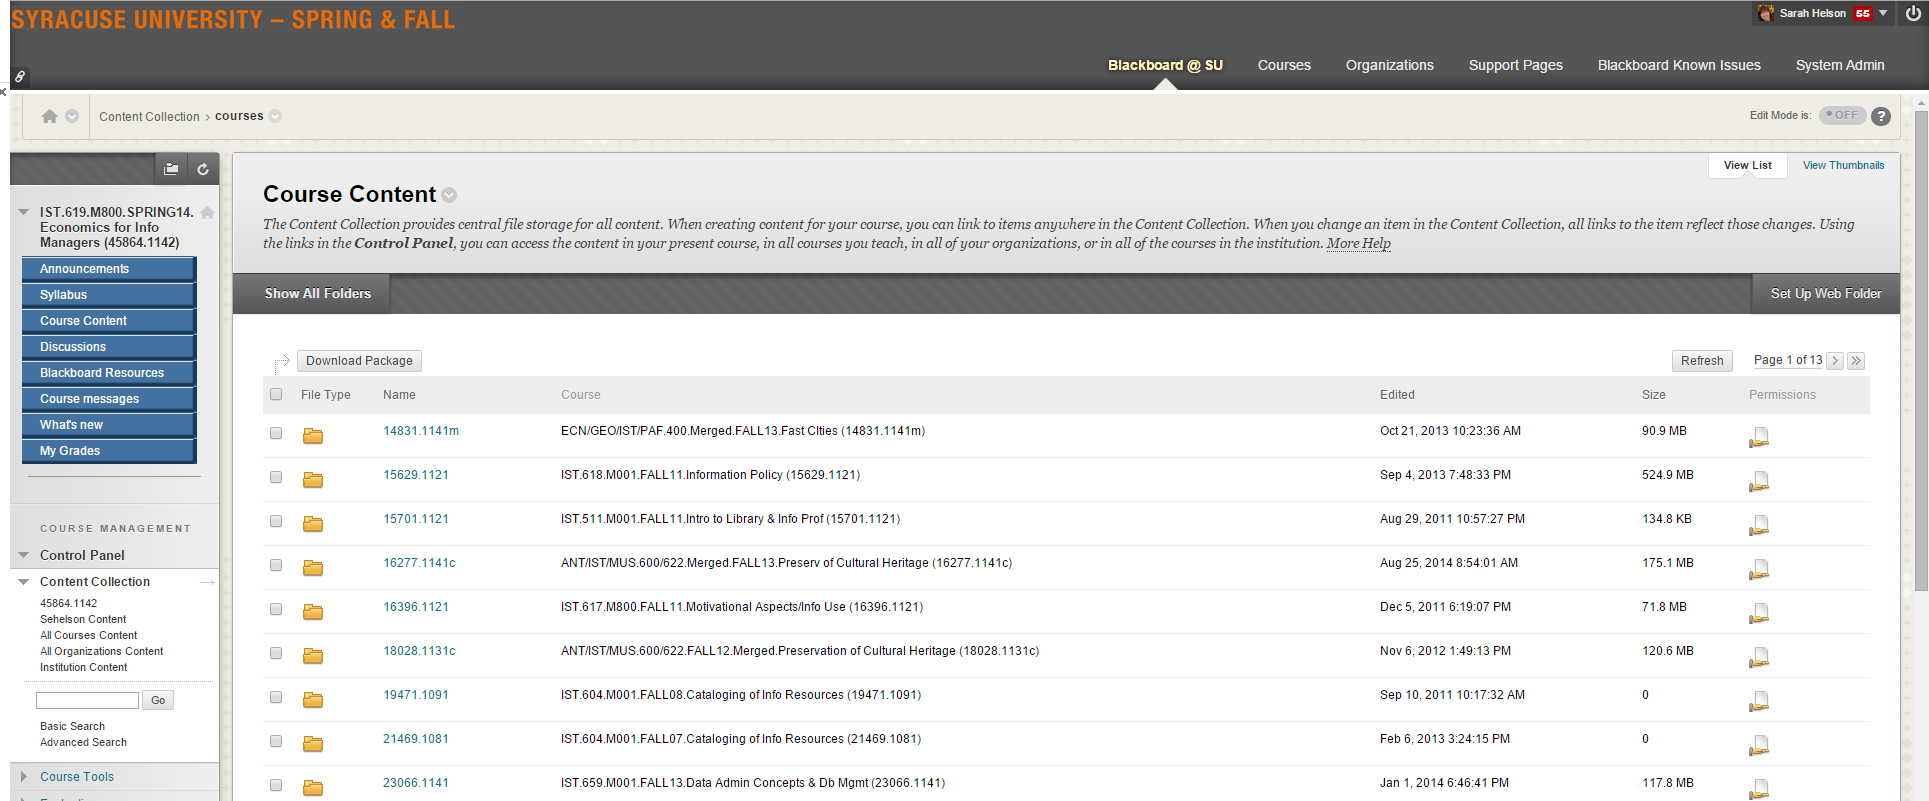
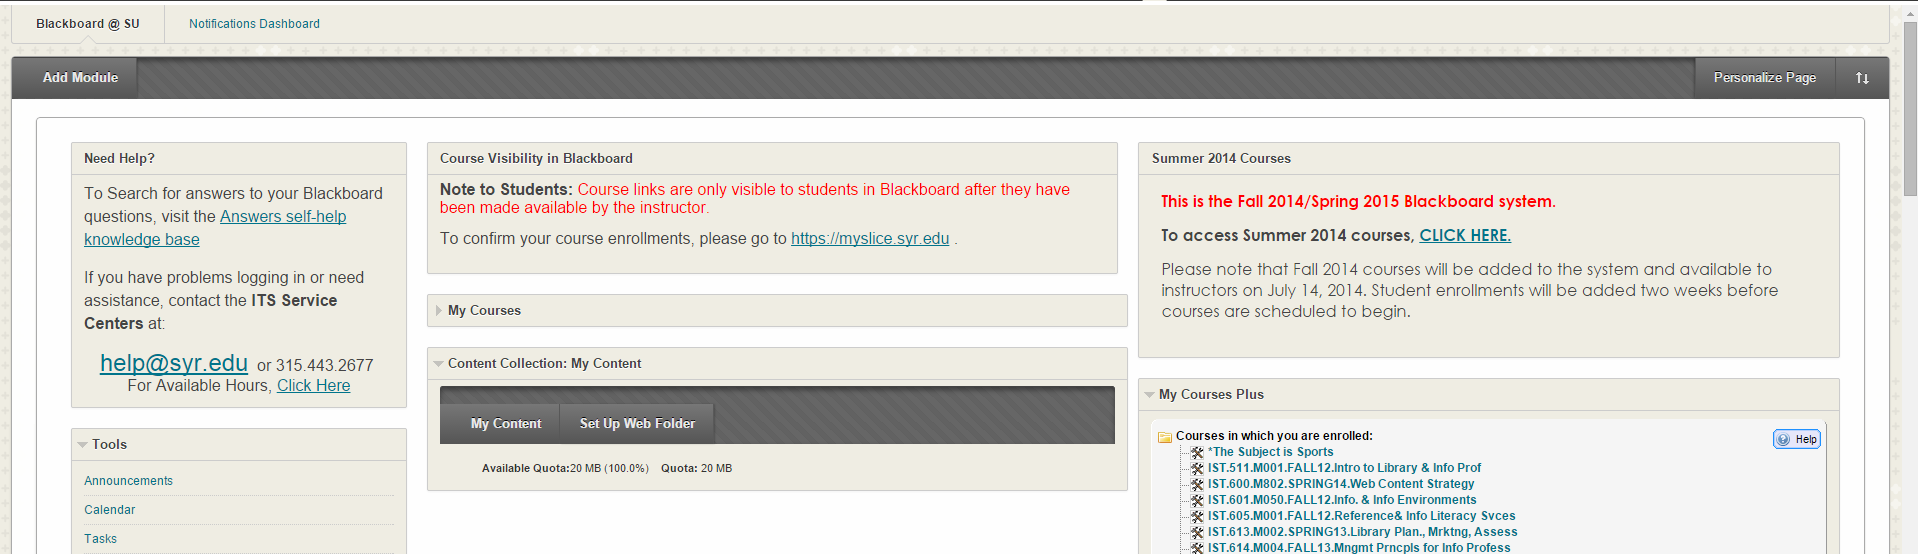
Blackboard content management lives right inside Blackboard. Just log into Blackboard and look for the ContentCollection: My Collection module located in the Blackboard@SU tab. Blackboard will recognize you by your login name and open the content system to your personal folder. (For instructions on how to log in to the Blackboard content management sytem, see Blackboard Documentation > Content Management Features, Explore Content Collection.)
Can I organize my My Content area any way I want to?
You can create as many sub-folders inside your My Content area as you need to organize your files. In fact, before you start adding files to your folder, you should plan how you will organize them, because, once you link to a file in your My Content area, you won’t want to change its location. Moving files in your My Content area can result in broken links. (For instructions on how to add folders and files to your My Content area, see Blackboard Documentation > Content Management Features, Adding Content.)
Are my files safe and secure in the content management system?
Yes. One of the big advantages to the Blackboard content management system is that your files are stored on a secure server and backed up regularly.
NOTE: Because the Blackboard content management system is Web-based, always remember to log out of Blackboard after using the content system – especially if you are using a public computer or are working in an iSchool cluster. Simply closing your browser may not completely log you out of the system, and the next person to use that computer may have complete access to all your files and documents.
Top ten reasons for faculty to use Content Management:
- Access your files anywhere, anytime, from any networked computer
- Avoid sharing files via email attachments.
- Share files with individuals and groups.
- Share files with people outside the iSchool.
- Make all your documents and files searchable.
- Collect assignments through student links in your Blackboard course.
- Track versions of your files.
- Store all your course and personal documents securely.
- Back up all your work against technology failure.
- Archive all your work and documents.
Faculty Content Management Examples:
- I coordinate a large GenEd that has twelve sections. There are four instructors of record and six TAs who teach these sections. The core curriculum of each section is the same, although each section has some assignments specific to it. I want to be able to distribute our core curriculum from a central point and keep all versions of it in sync.
- I am working on a large grant with four other faculty members – two at SU and two at other institutions. We need to work collaboratively on the grant application.
- My department undergoes constant program review and a rigid accreditation process. We need to track and document student progress and performance, then work together to make a case for our accrediting agency.
- I am secretary of the faculty senate and need to store senate documents securely, then share with discrete groups of faculty on committees and with upper-level administrators.
- I am involved in a research project with three colleagues from other institutions. We need to share and collaborate on research data.
- I work with post-docs doing research in the field. They are spread all over the hemisphere. They need to share their data with each other and with me.
- I teach an upper-level course and want to include three students from another institution in our discussions.
- I am on vacation and I my flight was just delayed for six hours. I didn’t bring any of my files, and I’d really like to get some work done. Now I can easily access my files and prepare and share lessons from my hotel room/airport.
